I use whiteboards a lot. Whether I'm coding, explaining some concept or other, sharing the results of a meeting, wherever. If there's a whiteboard nearby, I'm quite likely to jump up and start drawing big diagrams with lots of arrows and wavy lines. When there's not a whiteboard, I still jump up but I tend to lean more towards big handy gestures drawing diagrams in the air (I recently watched a video of myself presenting with the sound turned down and I looked like an overenthusiastic mime artist dancing to 'Vogue').
To make sure I always have a whiteboard to hand, I roped in Jenni to help with a little home craft-making.
D.I.Y. Laptop-lid Whiteboard
Blue Peter style list of things:
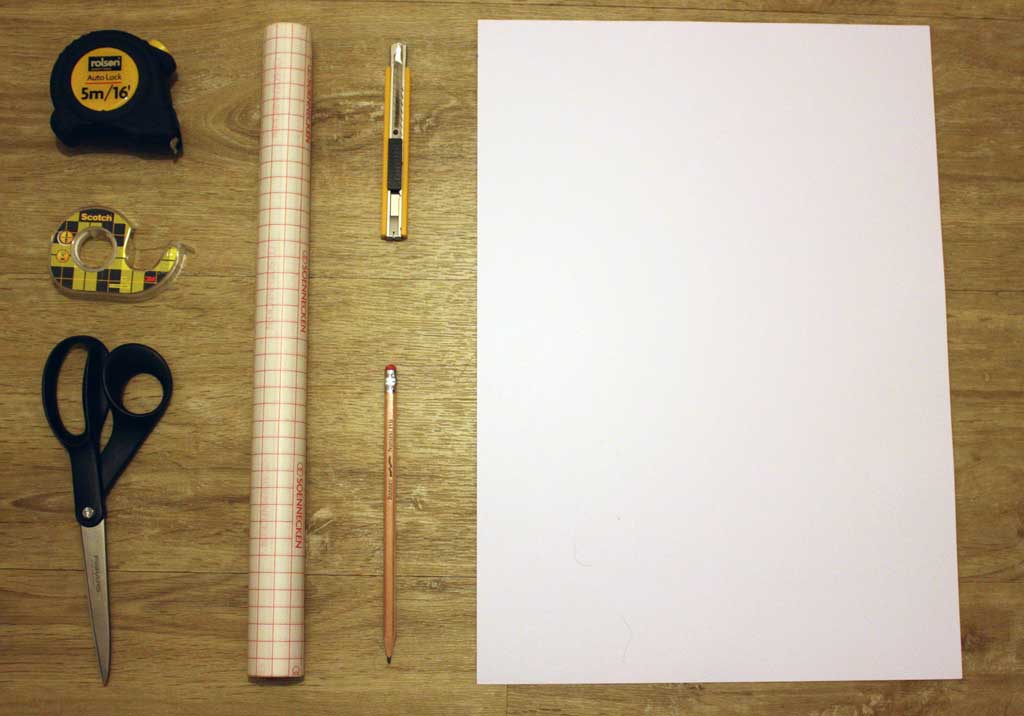
You'll need scissors and/or a craft-knife, double-sided sticky tape, a measuring tape, a bit of sturdy white cardboard or a thing sheet of opaque PVC and some sticky-backed clear plastic. You'll also need a laptop and an grown-up to help you with the cutting.
First, measure the top of your laptop and figure out how big your whiteboard can be and draw that on your cardboard or plastic (from now on referred to as 'white board').

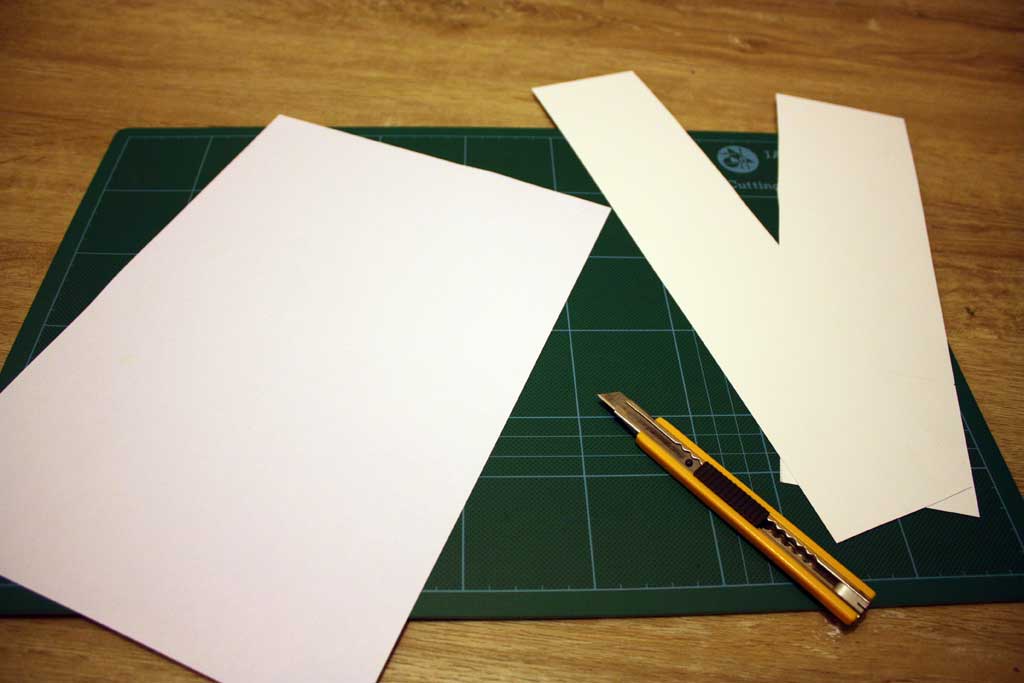
Next, cut your cardboard or plastic to the right size. Remember to measure twice and cut three times or something like that. I can't remember exactly but there some ratio of measuring to cutting. Do that.
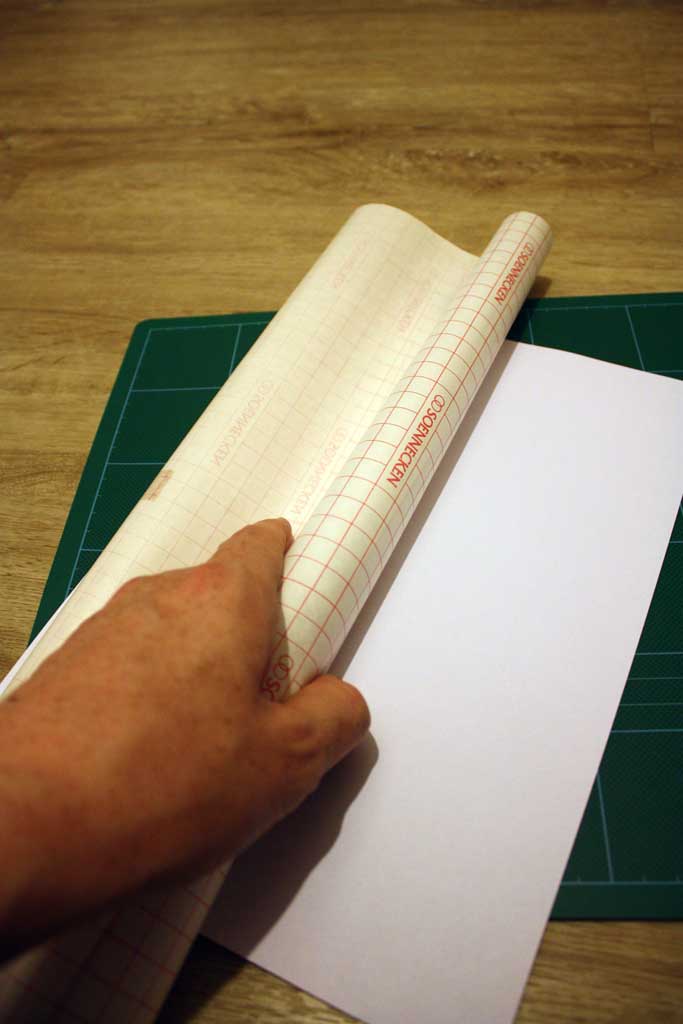
If you're using a piece of shiny PVC or something like that, you can miss this next bit. If you're using cardboard or something else, you'll need to cover it with the transparent sticky-backed plastic.
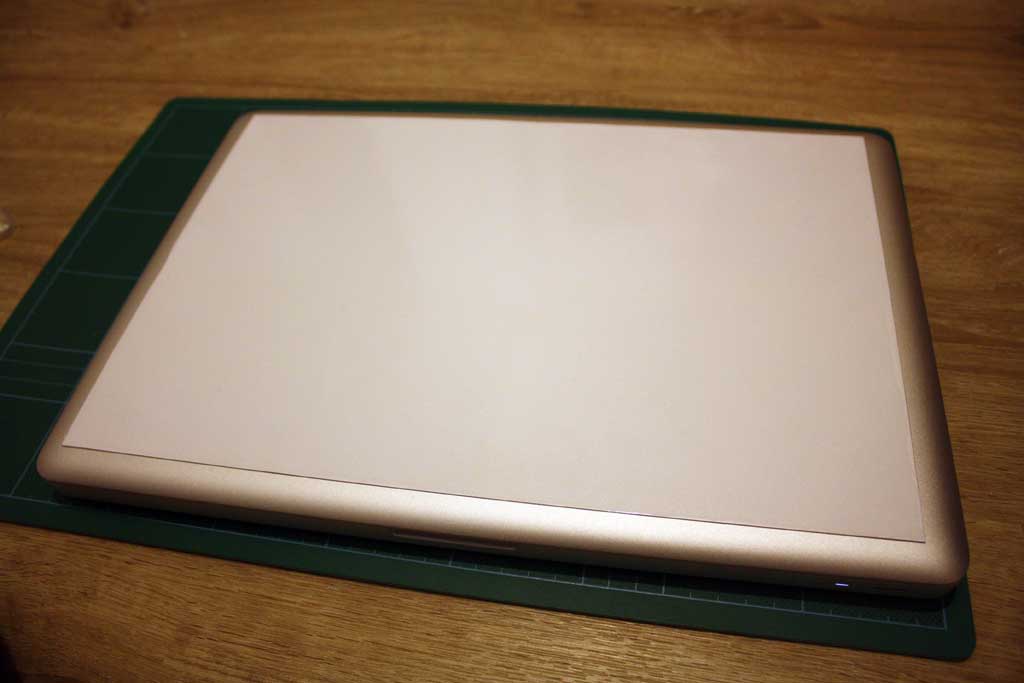
The final preparation stage is to put the double-sided sticky tape on the back and position it on your laptop lid.
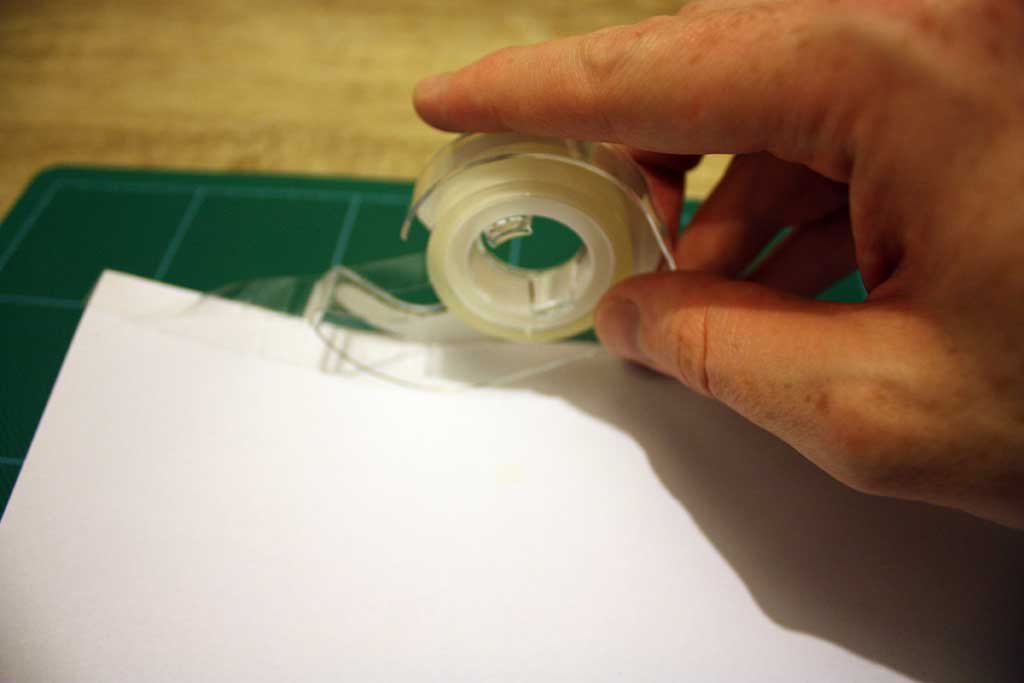
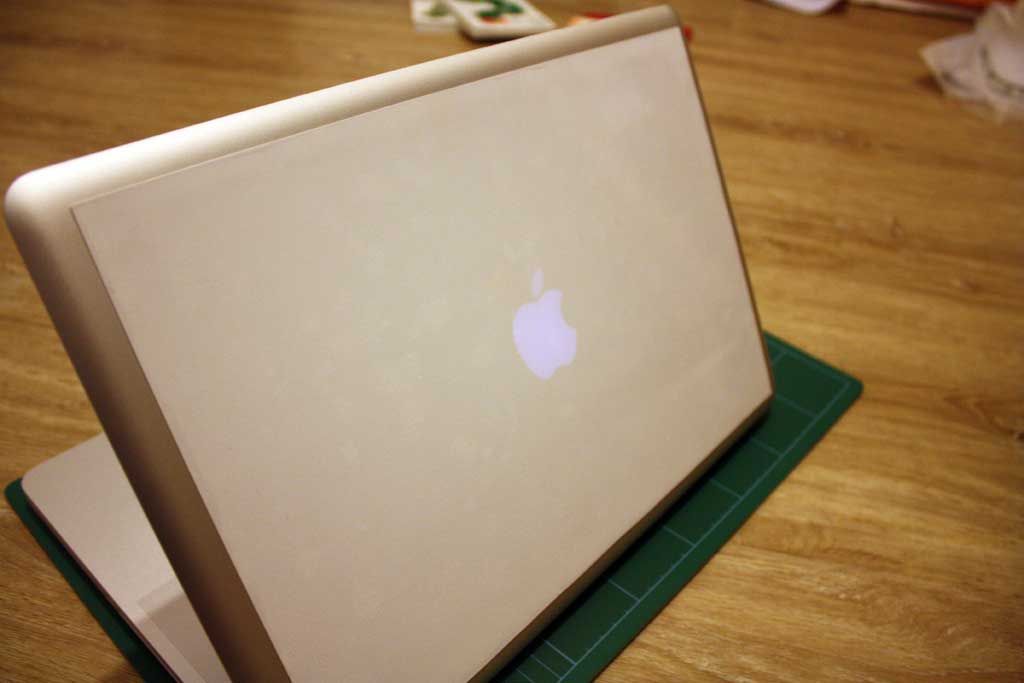
Try not to take any photos one-handed while doing this step or this may happen:

There you go. A portable, take-anywhere whiteboard in 10 minutes. Apart from needing a pen, of course, and a cloth to wipe it so you don't end up with smudges all over your laptop bag, we're done.

I can now take my whiteboard with me everywhere I go for a meeting. Long may the diagramming continue.


