thingsinjars

  • 26 Nov 2011

    Whiteboard Laptop Lid

    I use whiteboards a lot. Whether I'm coding, explaining some concept or other, sharing the results of a meeting, wherever. If there's a whiteboard nearby, I'm quite likely to jump up and start drawing big diagrams with lots of arrows and wavy lines. When there's not a whiteboard, I still jump up but I tend to lean more towards big handy gestures drawing diagrams in the air (I recently watched a video of myself presenting with the sound turned down and I looked like an overenthusiastic mime artist dancing to 'Vogue').

    To make sure I always have a whiteboard to hand, I roped in Jenni to help with a little home craft-making.

    D.I.Y. Laptop-lid Whiteboard

    Blue Peter style list of things:

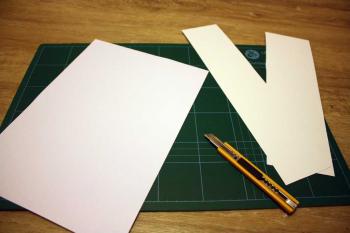
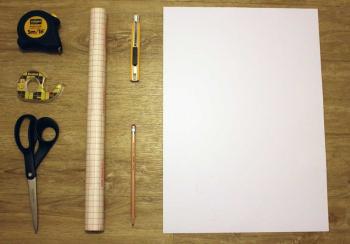
    You'll need scissors and/or a craft-knife, double-sided sticky tape, a measuring tape, a bit of sturdy white cardboard or a thing sheet of opaque PVC and some sticky-backed clear plastic. You'll also need a laptop and an grown-up to help you with the cutting.

    • Scissors and plastic

    First, measure the top of your laptop and figure out how big your whiteboard can be and draw that on your cardboard or plastic (from now on referred to as 'white board').

    • Measure twice...

    Next, cut your cardboard or plastic to the right size. Remember to measure twice and cut three times or something like that. I can't remember exactly but there some ratio of measuring to cutting. Do that.

    • ...cut three times

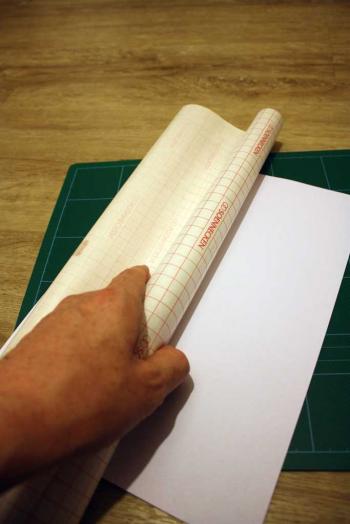
    If you're using a piece of shiny PVC or something like that, you can miss this next bit. If you're using cardboard or something else, you'll need to cover it with the transparent sticky-backed plastic.

    • Sticky-backed plastic

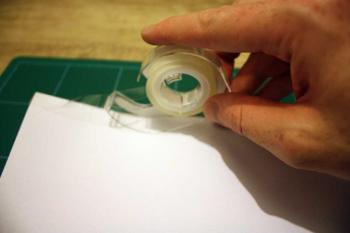
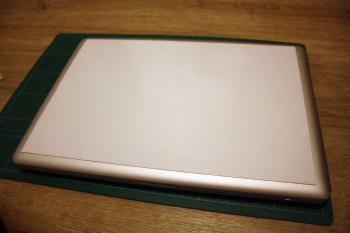
    The final preparation stage is to put the double-sided sticky tape on the back and position it on your laptop lid.

    • Double-sided sticky tape

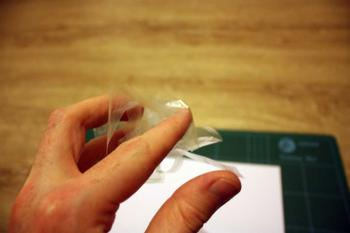
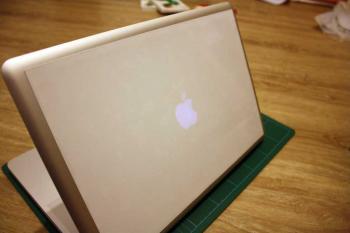
    Try not to take any photos one-handed while doing this step or this may happen:

    • Oops.

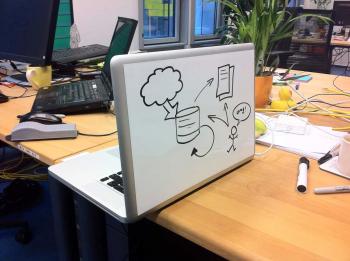
    There you go. A portable, take-anywhere whiteboard in 10 minutes. Apart from needing a pen, of course, and a cloth to wipe it so you don't end up with smudges all over your laptop bag, we're done.

    • Stuck.
    • Not completely opaque.
    • Action shot!

    I can now take my whiteboard with me everywhere I go for a meeting. Long may the diagramming continue.

    Design, Geek

  • 7 Oct 2011

    Cobalt.vim

    What?!

    Another port of the TextMate theme 'Cobalt' to Vim?

    But there are already so many!

    Yes. Yes there are. However, the other ones I found were all missing something. Some had the right colours but in the wrong places, some had most of the right things highlighted but in slightly wrong colours. None of them had coloured the line-numbers. I think this is the most complete port. The initial work was done automatically using Coloration and then manually tweaked and added to. I know I should probably have just picked one of the existing GitHub projects, cloned it and pushed to it but I feel it would be a tad presumptuous of me to just turn up in someone's repository one day saying "yeah, you did alright but mine's better". Besides, I've never tried making a theme for Vim before. I've probably done something wrong (see below). If it continues to work for a while without causing any major issues, I might look at pushing it to another repo.

    This was done on top of a vanilla install of the excellent Janus configuration of MacVim so whatever plugins are installed by default may have an affect on this.

    There are a few limitations in the syntax files enabled by default so this includes a couple of matches, regions and things that really shouldn't be in a colorscheme file but I've included them because I felt like it and it was the only way to really match some of the highlighting TextMate allows (this is the thing I was referring to above).

    I haven't really touched the NerdTree colouring much as it's probably impossible to have different background colours in different panes. Can't guarantee that, though.

    Installation

    There are probably some conventions to do with how to organise a GitHub project so that it can be automatically installed but I've just gone with sticking it in a directory called 'colors' so it can be pulled in from the root of your ~/.vim directory.

    If you're using Janus, add this to ~/.janus.rake, I think it'll work:

    vim_plugin_task "Cobalt.vim", "git://github.com/thingsinjars/Cobalt.vim.git"

    If you're not using Janus, you probably know what you're doing anyway.

    The GitHub project is here:

    • github.com/thingsinjars/Cobalt.vim

    Screenshots

    The first of each pair is Vim, the second is the TextMate original.

    Editing CSS

    Editing HTML

    Geek, Design

  • 21 Jun 2011

    Design Archive

    Along with (yet another) redesign, I decided to collect all my old blog designs together for posterity. The thing that surprised me is my own progression in design terms. I would still find it difficult to call myself a designer in any sense but I will admit that I'm a bit better now than I was back when I started this site.

    Note: this is just a gallery of the previous designs for the blog incarnation of this site. The site itself existed for quite a while before that when it hosted my two webcomics “Things in Jars” and “Scene & Herd”.

    These are all simply themes that were applied to the base CMS ‘Dooze’.

    Previous blog themes

    • Dooze (2007-2009)
    • Underwater Slate (2009-2010)
    • Felt (2010-2011)
    • Desk (2011-?)

    It's also a bit odd that I made this while working at a design agency and this while working for the Government.

    Design

  • 31 May 2011

    HTML5 for Large Public Bodies

    Your country needs you...

    ...to stand at the cutting edge of technology.

    Sounds awfully impressive, don't you think?

    There are quite a few regulations to bear in mind and comply with when developing a website for a Government organisation or any large public body. This has lead to a lot of sites being developed in a very defensive manner, ensuring safe compliance at the expense of a great and consistent user experience.

    This video features a presentation about how large publicly-liable institutions should and can embrace the latest in web technologies without sacrificing standards. By embracing them, in fact.

    The content of this was developed while planning and building the National Museums Scotland website which launched last November. The messages presented are applicable to museums, galleries, swimming pools, councils, anywhere, really.

    If you're a techie person in the cultural or government sector, you might find this useful in convincing others to take advantage of the latest cool (and useful) technologies.

    Video

    HTML5 for Large Public Bodies from Simon Madine on Vimeo.

    Links from the presentation

    • PolyFills
    • .NET magazine article
    • (Almost) complete list of polyfills
    • Dive into HTML5
    • HTML5 Boilerplate
    • Smashing Magazine
    • HTML5 Doctor
    • AlphaGov

    Slideshow

    The source for the slides is available online although it's mostly webkit-friendly. I realise the irony of a presentation about cross-platform HTML5 not being a great example itself of that but it does degrade adequately. If I get the time in the future, I'll tidy it up. An actual good (and relevant) example of cross-platform web technologies is the National Museums Scotland website itself which performs fantastically across all manner of platforms.

    Opinion, Development, Geek, Design, Guides

  • newer posts
  • older posts

Categories

Toys, Guides, Opinion, Geek, Non-geek, Development, Design, CSS, JS, Open-source Ideas, Cartoons, Photos

Shop

Colourful clothes for colourful kids

I'm currently reading

Projects

  • Awsm Street – Kid's clothing
  • Stickture
  • Explanating
  • Open Source Snacks
  • My life in sans-serif
  • My life in monospace
Simon Madine (thingsinjars)

@thingsinjars.com

Hi, I’m Simon Madine and I make music, write books and code.

I’m the Engineering Lead for komment.

© 2025 Simon Madine